Skip to main content
0
Menu
Book a Tour
Become a Maker
Classes
Ceramics
Youth Programs
Get a Cube
Custom Fabrication
Store
Tools
About
Contact
About Us
Careers
Policies
FAQ
Blog
Member Portal
0
was successfully added to your cart.
twitter
facebook
instagram
phone
email
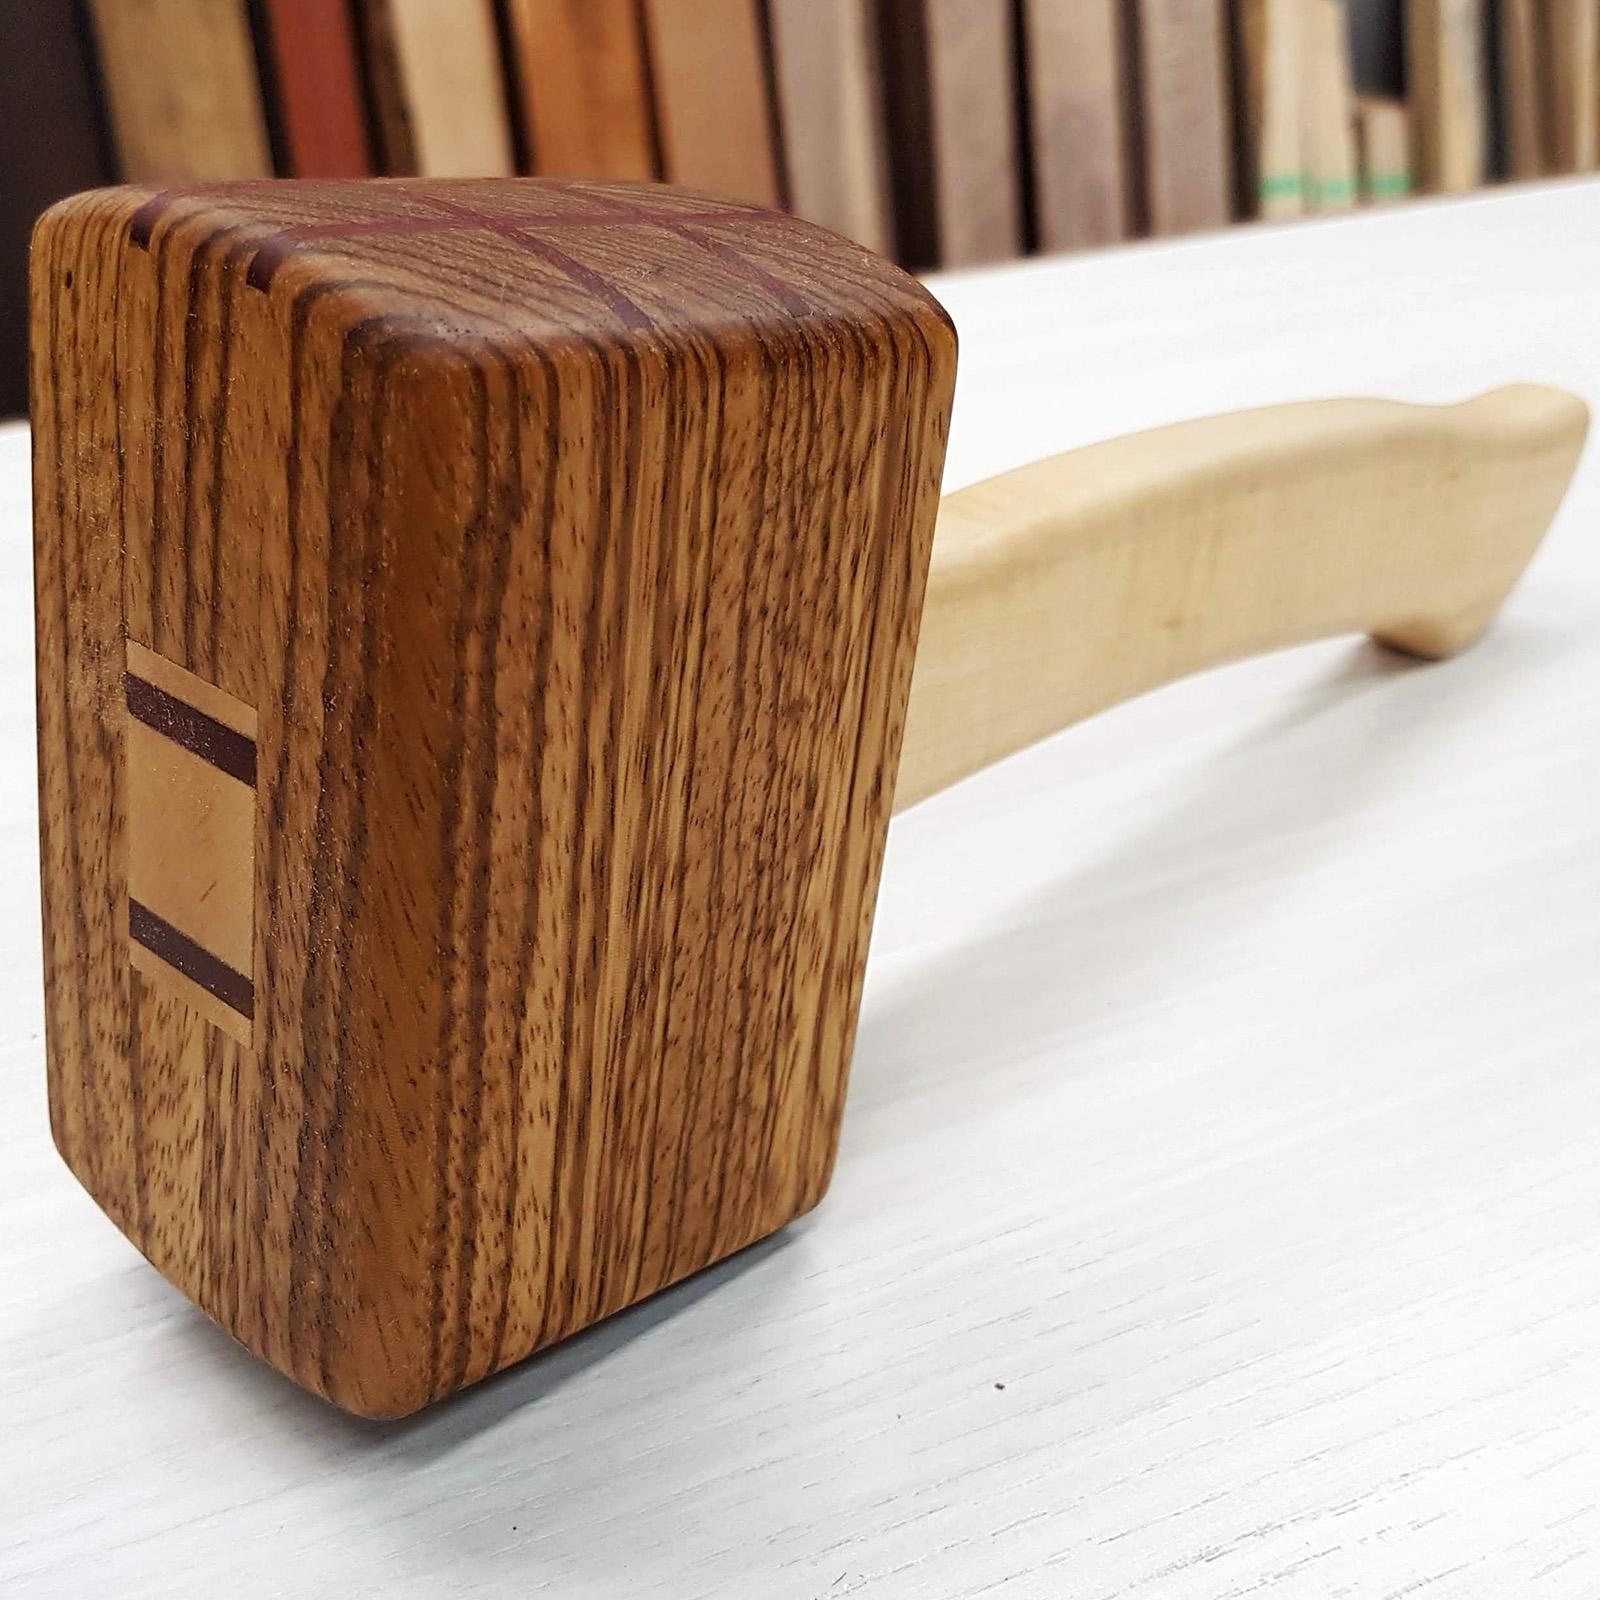
Mallet Photo 2
Leave a Reply
Cancel Reply
My comment is..
Name
*
Email
*
Website
Save my name, email, and website in this browser for the next time I comment.
Share
Tweet
Share
Pin
Close Menu
Book a Tour
Become a Maker
Classes
Ceramics
Youth Programs
Get a Cube
Custom Fabrication
Store
Tools
About
Contact
About Us
Careers
Policies
FAQ
Blog
Member Portal
twitter
facebook
instagram
phone
email